First steps with Ormuz
The recommended journey follows a simple order: create your account, define the merchant Ormuz works for, connect the systems carrying your business data, add the services you need, then build and test a first process before going to production.
Think about your integration in this order: account → merchant → business systems → services → process → production. API keys, webhooks, or imports are not mandatory steps by themselves: they depend on the integration mode selected for your systems.
1. Create your Ormuz account
Start in a sandbox account so you can test systems, extensions, and processes without using production access. If your user can access several accounts, select the one in which you want to build this integration.
The difference between user, account, merchant, and environment is detailed in Accounts, merchants, and environments.
2. Create your first merchant
In the sandbox account, create the merchant representing the business activity you want to operate. Give it a name and, when available, a reference from your own system. You will then install the required extensions and processes within this scope.
Do not create another merchant merely because you have several stores, providers, or processes. The scope guide explains when separation is genuinely useful.
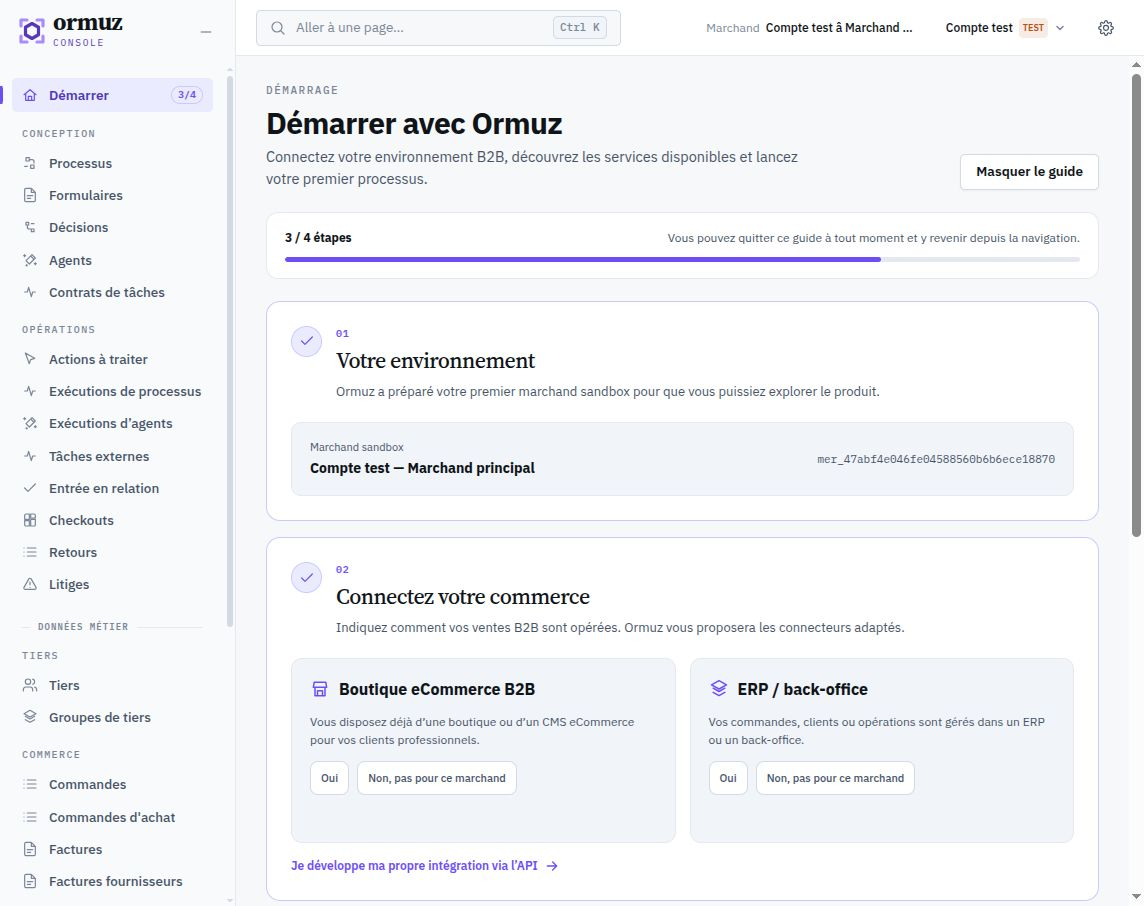
3. Identify your integration architecture
Before connecting a CMS or ERP, ask a functional question: where do your customers, orders, invoices, and payments live today? The answer determines which systems must be connected to Ormuz and which responsibility each retains.
CMS e-commerce + ERP
Your storefront carries the ordering journey while the ERP or business-management software carries all or part of execution, invoicing, or accounting.
- Determine where the customer, order, and invoice originate.
- Define when a CMS order becomes an order or accounting document in the ERP.
- Choose the system that is authoritative for every shared status.
E-commerce CMS only
Your commercial activity is mainly driven from the store and you want to enrich checkout or related operations with Ormuz.
- Connect the store to the Ormuz merchant.
- Verify the customers, contacts, orders, and events required by your processes.
- Then add the financial or compliance services needed by the journey.
ERP or business-management software only
Your B2B sales, invoices, or supplier operations are driven from an ERP, without an e-commerce CMS in the journey.
- Use the ERP as the entry point for business objects and events.
- Trigger Ormuz processes from operations performed in the business system.
- Return decisions or results to the ERP when the use case requires it.
Custom application or unavailable connector
Your application or business system is not covered by a ready-made connector.
- Integrate objects through the Ormuz API.
- Use webhooks and events to track changes.
- Add batch or file exchange when the source system does not support real-time integration.
Connecting two systems does not mean both must be able to modify all the same objects. For every shared object, define its source of truth, changes that must be propagated, and which system arbitrates divergence.
If your architecture does not exactly match one of these scenarios, see the integration patterns. Direct API, extension, inbound webhook, scheduled synchronization, and file exchange can be combined.
4. Connect your business systems
Once the target architecture is understood, connect the e-commerce CMS, ERP, or application that must provide business context to Ormuz. Installation details vary by extension, but the approach remains the same.
Installer l’extension
From the Marketplace, select the connector and install it for the relevant merchant. Configurations of an external system are attached to the merchant that uses them.
Authenticate the system
Provide the information requested by the extension and verify that the configuration uses the corresponding test environment.
Define exchanged objects
Identify the objects required by your use cases: companies, contacts, orders, invoices, payments, returns, or other relevant business data.
Choose synchronization direction
Specify who creates each object, which changes Ormuz must receive, and which results must be returned to the business system.
Test one object end to end
Create or change test data in the source system and verify that it can be identified in Ormuz, then used by a process without creating a duplicate.
Example sources of truth
| Object | Possible source | Example Ormuz role |
|---|---|---|
| Customer / company | CMS, CRM, or ERP | Normalize the company and provide its context to processes. |
| Contact | CMS, CRM, or ERP | Carry onboarding, validation, or payment interactions. |
| Order | CMS, OMS, or ERP | Orchestrate a risk, financing, or payment decision. |
| Invoice | ERP or accounting software | Trigger financing, collections, or reconciliation. |
| Payment | PSP, bank, or ERP | Reconcile receipts with the relevant commercial objects. |
These examples are not rules imposed by Ormuz. The authority model depends on your organization and must be decided explicitly for each object.
See the Business systems page to discover available connectors and choose the integration mode suited to your system. For a specific architecture, you can also use the Ormuz API and the webhooks.
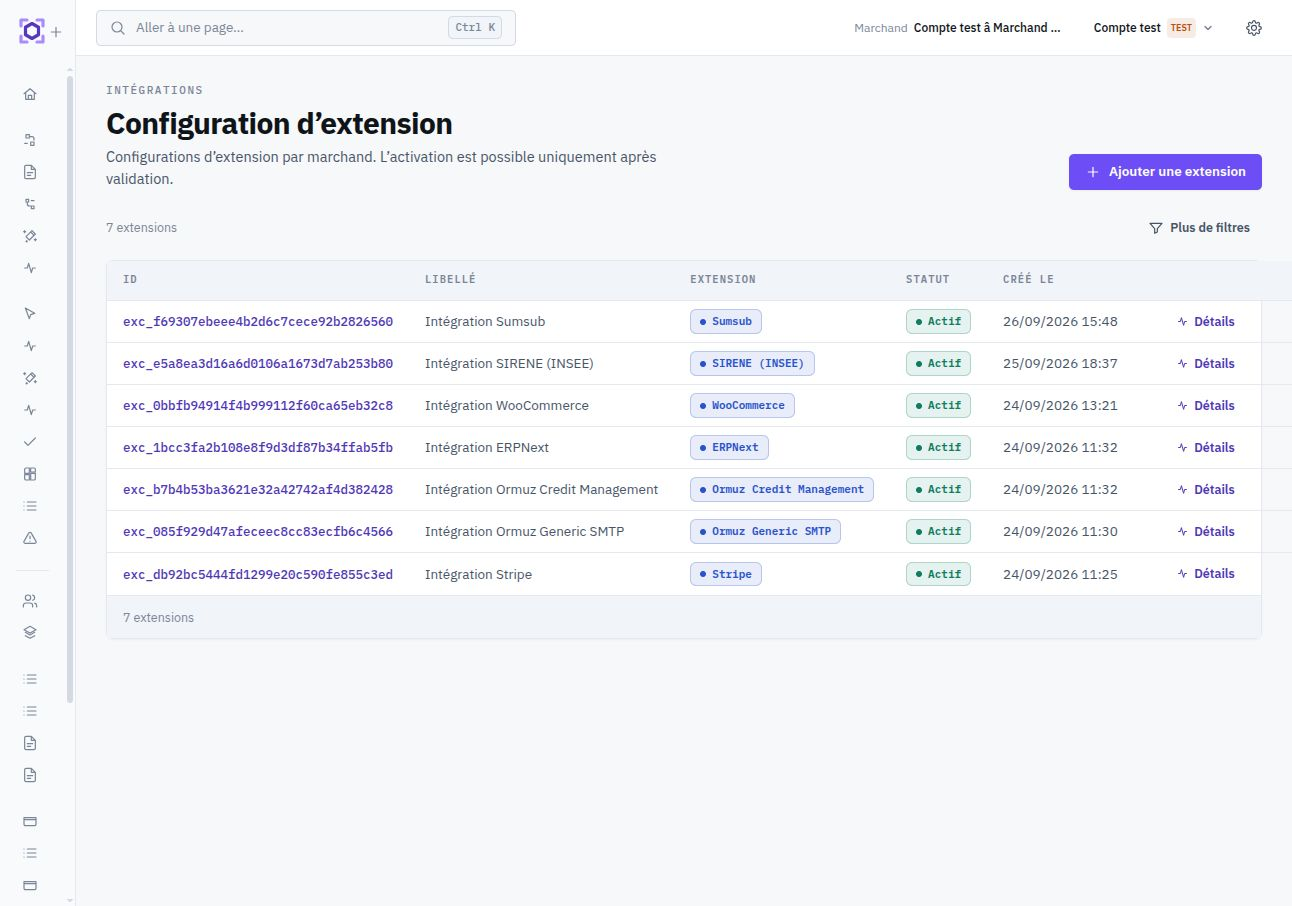
5. Add the services you need
Once Ormuz is connected to your business systems, add the capabilities you want to orchestrate: payments, financing, KYC/KYB, fraud prevention, company data, open banking, electronic signature, or communications.
The CMS or ERP connects Ormuz to your information system and business objects. Business providers supply the capabilities your processes will use. One implementation commonly combines these two extension families.
Install each extension for the relevant merchant, configure its test account, and verify the requested permissions. You can browse the integration catalog before building your first process.
6. Create your first process
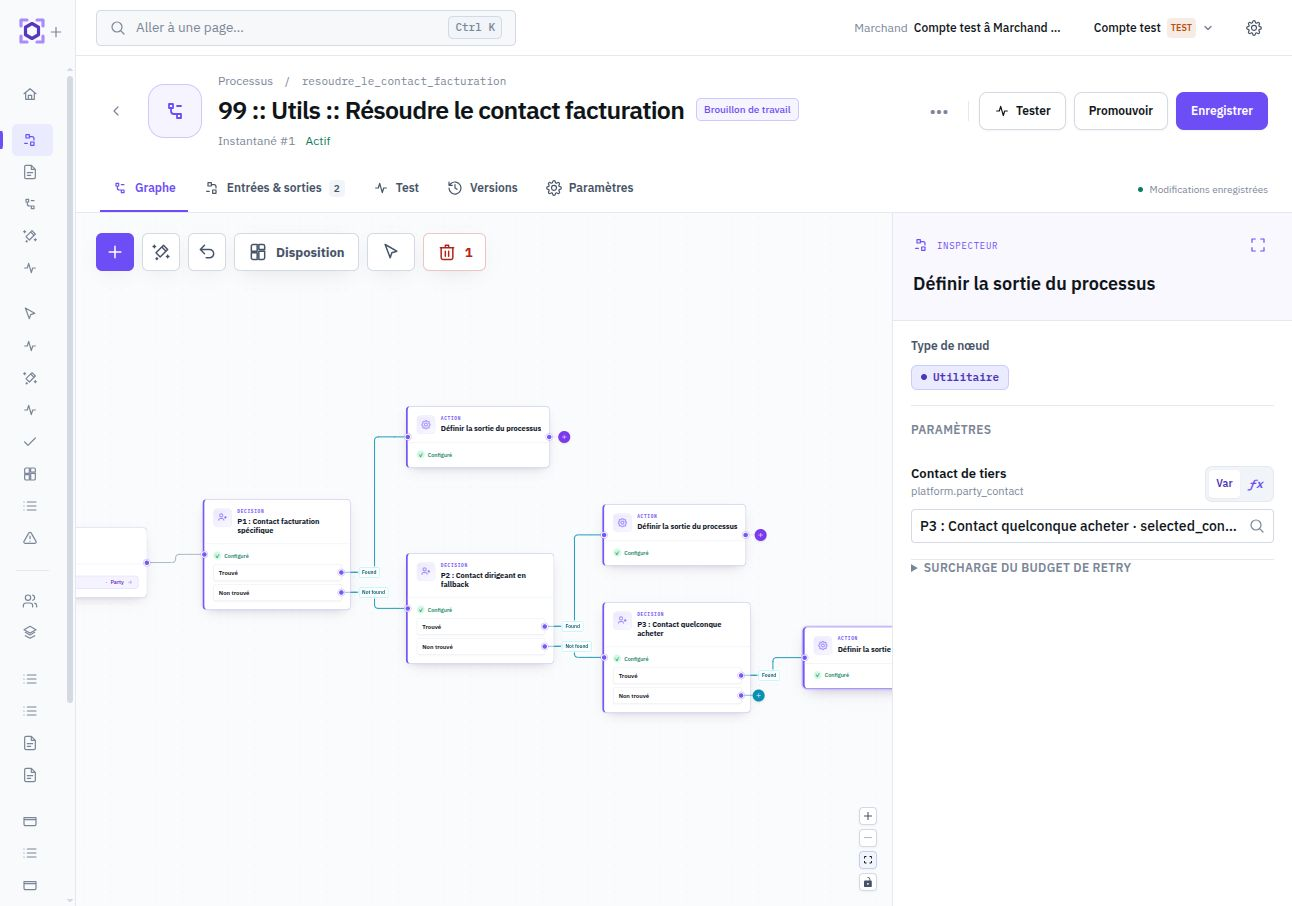
The process connects events from your activity to the services you just configured. It may be triggered by your application, by an event from an extension, or by a business journey provided by Ormuz.
Choose a starting point
Use a template when one matches your use case, or create an empty process when you want to define the trigger and steps yourself.
Connect data and actions
Map objects received from the CMS, ERP, or API to nodes that perform checks, decisions, user interactions, and provider actions.
Run a first complete journey
Use representative sandbox data and verify the final result in Ormuz as well as in the business system when that system must receive an update.
For deeper process design guidance, see the process model, the available nodes and the business guides.
7. Validate your sandbox integration
Before preparing production, test a complete chain that begins in your real test system and ends with the expected outcome. The goal is not only to verify that an API call works, but that responsibilities between systems are coherent.
| Check | Expected result |
|---|---|
| Business input | The correct object reaches Ormuz with a stable identity relative to the source system. |
| Triggering | The expected event or action starts the correct process. |
| Providers | Every step uses the correct merchant's sandbox configuration. |
| User interactions | Human actions can be completed through their final state. |
| System return | The CMS, ERP, or your application receives the results it actually needs to retain. |
| Rejeu | Operations you expect to replay use the deduplication key or idempotency guarantee defined by their contract. |
| Error | A failure can be identified, understood, and resumed through the intended public surfaces. |
8. Move to production
Move to production once your main flows are validated in sandbox. The production account is a separate environment: do not treat this step as simply switching the test configuration.
Activate the production environment
Use the production account intended for your organization and its own access scope.
Configure the production merchant
Recreate the same business segmentation validated in sandbox and verify its external references.
Reconnect systems and providers
Use production credentials, endpoints, and provider accounts, separate from sandbox.
Deploy validated artifacts
Deploy the required Processes, Decisions, and Agents to the target environment and verify that their dependencies — extension configurations, variables, and referenced resources — resolve correctly.
Run an end-to-end test
Perform a controlled transaction before opening real flows and verify exchanges in every system involved.
Production credentials, extension configurations, API keys, endpoints, and permissions must be configured explicitly in the production environment. Do not reuse sandbox secrets.